Solving Common Problems with Turning
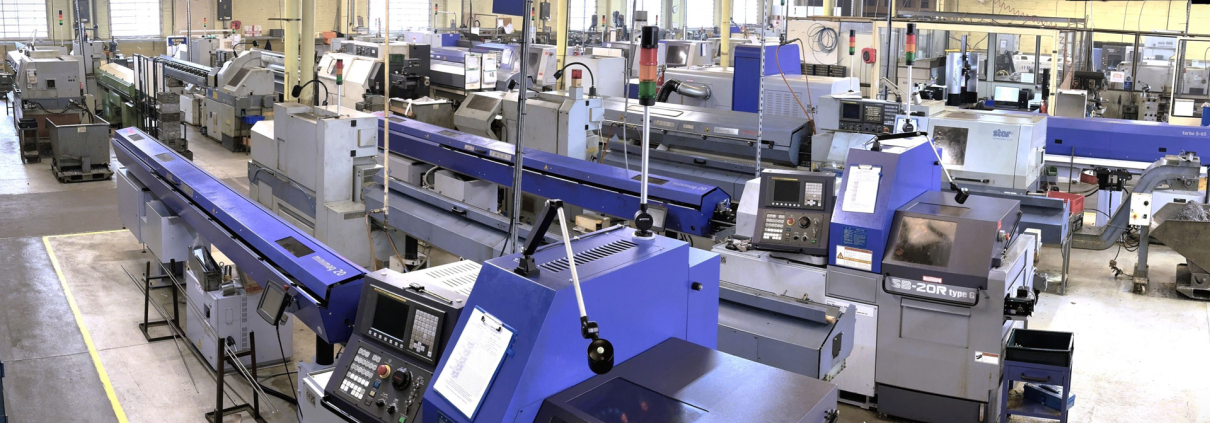
Our CNC machinery processes upwards of 30,000 parts a day, so any turning problems need catching early.
Each batch starts with a written dimensional report verified by a quality technician. We look at the appearance, dimensions which are transposed onto a workshop drawing and control plan for ease of checking, surface finish, edges and material stability to ensure everything is working as it should be. We also do two further written sample reports each shift during longer runs to catch any degradation as soon as possible, isolating parts associated with each sample report in addition to spot checks.
If a part is distorted, or has burring or build-up at the edges, we adjust the machinery and programming to rectify the issue. Here we’ll go through some of the common problems that a Precision Turned Parts Manufacturer faces.
Surface Finish
Surface finishes are often the first issue we notice. It’s easy to see when the finished part is not as smooth as it should be and often a measured maximum surface finish is specified on the drawing or a default minimum at the least.
Under normal circumstances getting the “feeds and speeds” right is the key here and although a lot of latitude is available for softer, easily cut materials such as brass, most aluminiums and low carbon steel, harder materials including tool steel, high carbon steels and stainless steels have a narrower scope and although surface finishes may start off well within tolerance these will degrade as the tool in question wears. So, what are feeds and speeds and how are they calculated?
In a nutshell, the speed is the rate in metres per minute (M/min) at which the tool moves along the material surface and the feed is the incremental amount of material removed in the direction the tool moves measured in millimetres per revolution (mm/Rev).
Hairy Surface: Sometimes parts get a “hairy” surface appearance, caused by notch wearing on the cutting tool.
Burring: Burrs form when the cutting edge is blunt, the feed is too low, notch wear at the depth of cut, or chipping.
Both issues are caused by a blunt or damaged cutting tool. To fix these surface issues, we replace the tool and check the settings to make sure they’re correct.
Solving Dimensional Inaccuracies
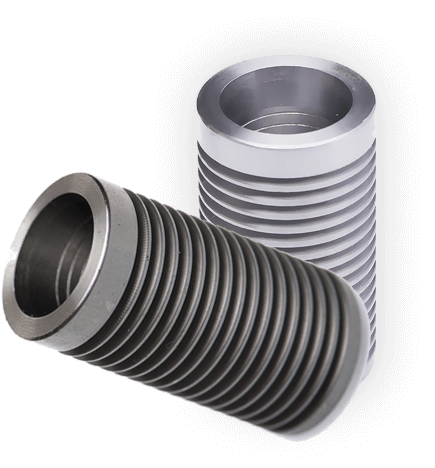
Turned parts should be evenly round in all directions. When errors occur in the set-up, parts can come out with roundness errors or ovality, making them not fit for purpose. Nobody can use an oval-threaded pipe, for example! In precision turning, dimensional accuracy is crucial, with tight tolerances to make sure our parts are perfect.
Roundness errors are usually caused by misalignment in the machine or tool attachment, deflection (i.e. material moving away due to the pressure applied during cutting), sliding head guide bush not being sufficiently tight to the material stock
To prevent roundness errors, we tighten all chucks and make sure the workpiece is properly secured before starting. Regular maintenance of turning lathes should prevent this.
In some cases, the material of the workpiece can make it more difficult to achieve accurate roundness. Variations in material hardness, thermal expansion (where the material changes size under heat) and anisotropic properties can have a significant impact when turning, resulting in misshapen outputs.
We avoid this by selecting materials with consistent properties. Where the material is prone to expansion, we program the toolpath to compensate for this to maintain production within tolerance.
Fixing Built-up Edges
Built-up edges in turning (or BUE) describes when chips adhere to the cutting tool. Heat, pressure and friction can cause BUE, as the material from the workpiece is pressure-welded to the tool.
The impact is that the workpiece can have a poor finish, with grooves and dimensional issues. Particularly with the turning of small parts, grooves can have a huge impact on the efficacy of the workpiece.
BUE is usually caused by improper tooling choice, where the geometry of the tool is poorly suited to the material. For example, titanium and aluminium turning requires free-cutting geometry, extreme sharpness and a polished flank and rake face.
If the spindle is not properly lubricated, friction can cause unnecessary heat in the tool. This exacerbates the chip-welding that leads to built-up edges on the cutting tools. With the turning of steel parts, using a higher speed and some coolant will help avoid BUE.
We avoid BUE with properly shaped and coated tooling, correct speeds and feeds, effective cooling mechanisms and machine maintenance.
Maintenance and Expertise Lead to Quality Parts
As precision engineers, we rely on our expertise to avoid these common turning problems. Maintaining the machines properly is just one part of avoiding dimensional errors and hairy finishes.
We achieve high-quality CNC-turned parts by knowing the materials and tooling well enough to make appropriate choices for the lathe speed, cutting tool, depth of cut, feeds and the type of lathe for the part.
To discuss subcontract precision turning for your project, contact Wilco Manufacturing on 0121 772 6212 or email sales@wilcomanufacturing.co.uk.


